
Last updated September 23, 2026
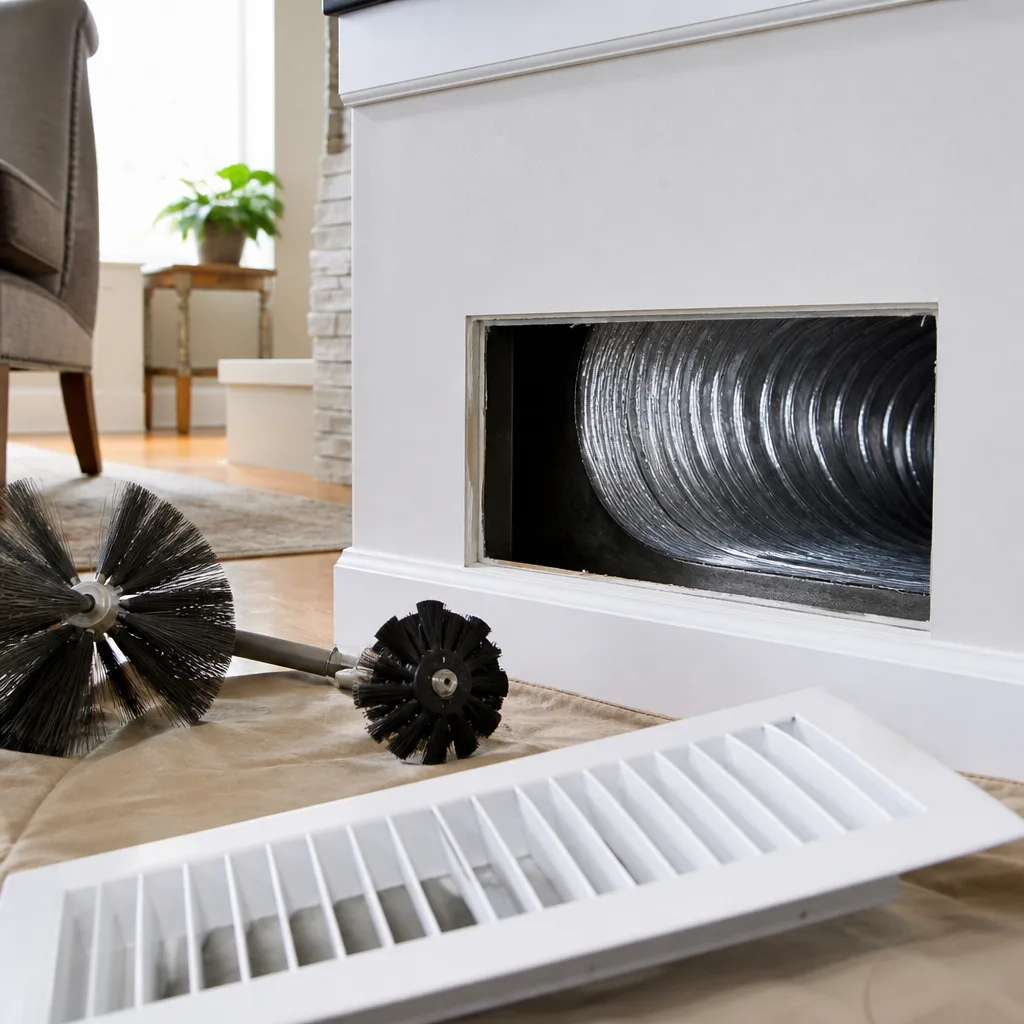
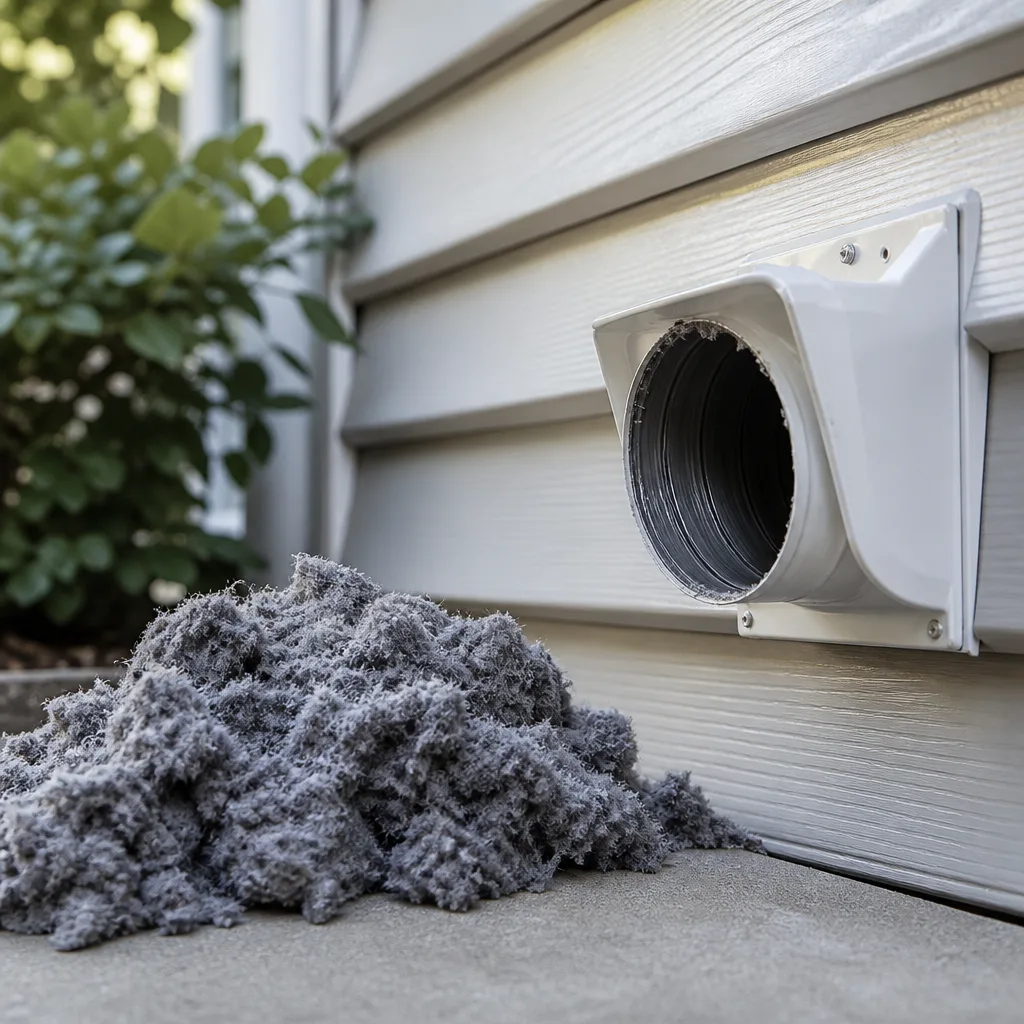
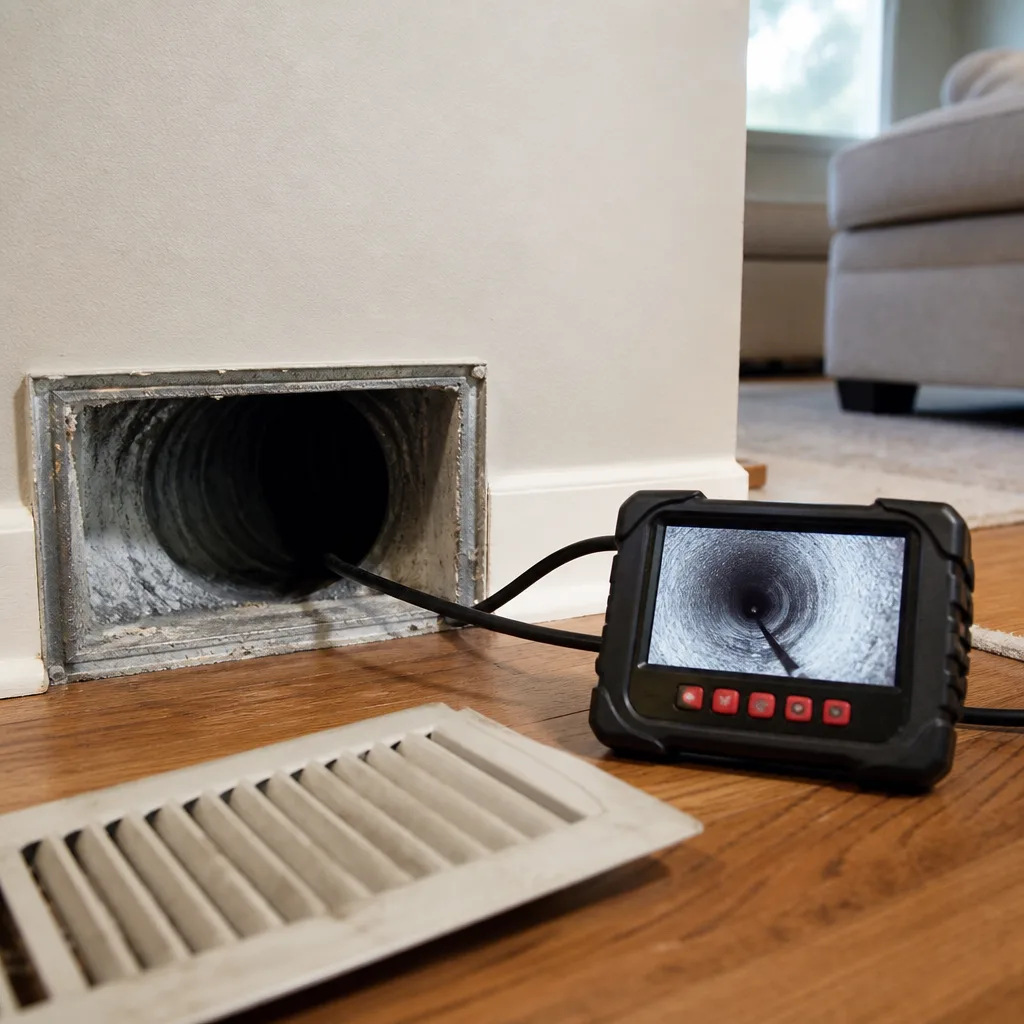
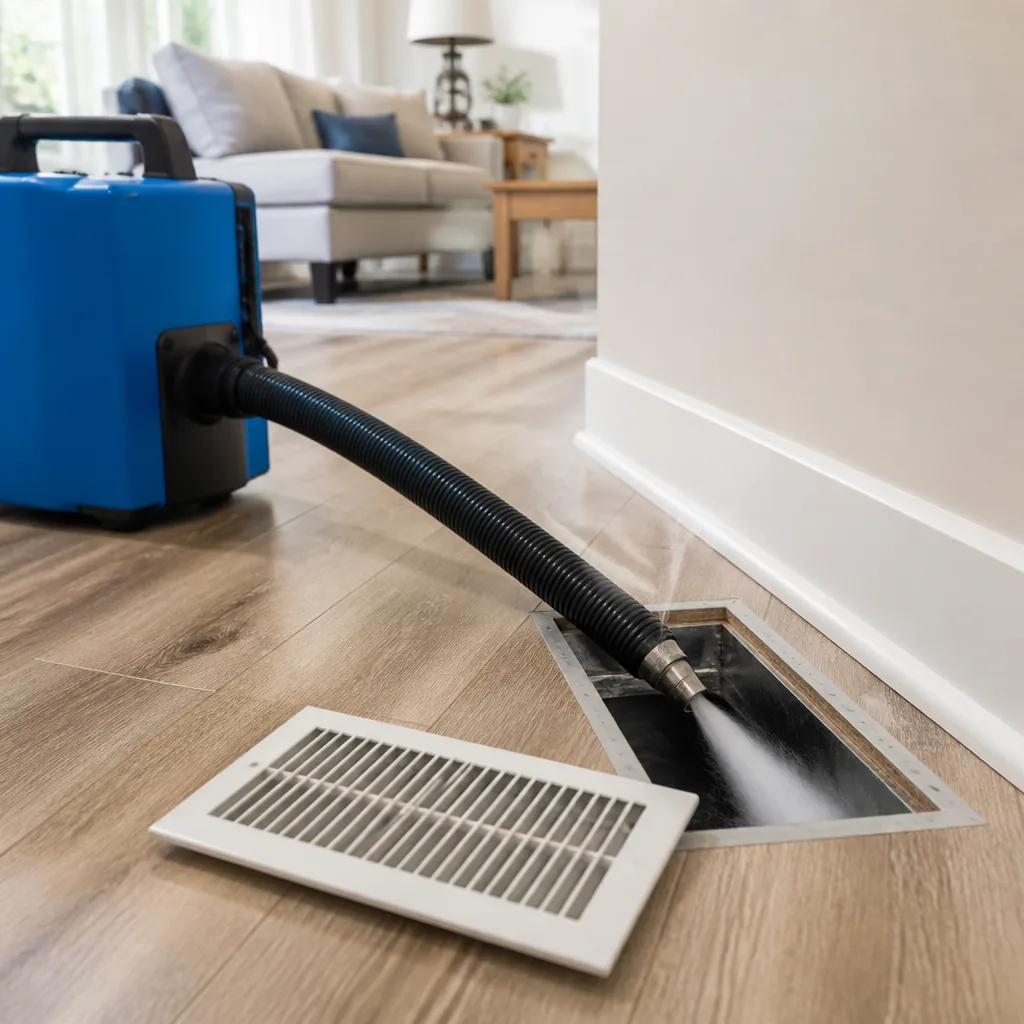
Whole-system duct and dryer vent check with before-and-after photos - you see exactly what came out of your vents
That "$99 whole-house special" is a bait ad - the real number appears once they are in your hallway, or the "clean" is a shop-vac at the register. We photograph the inside of your ducts before and after instead.
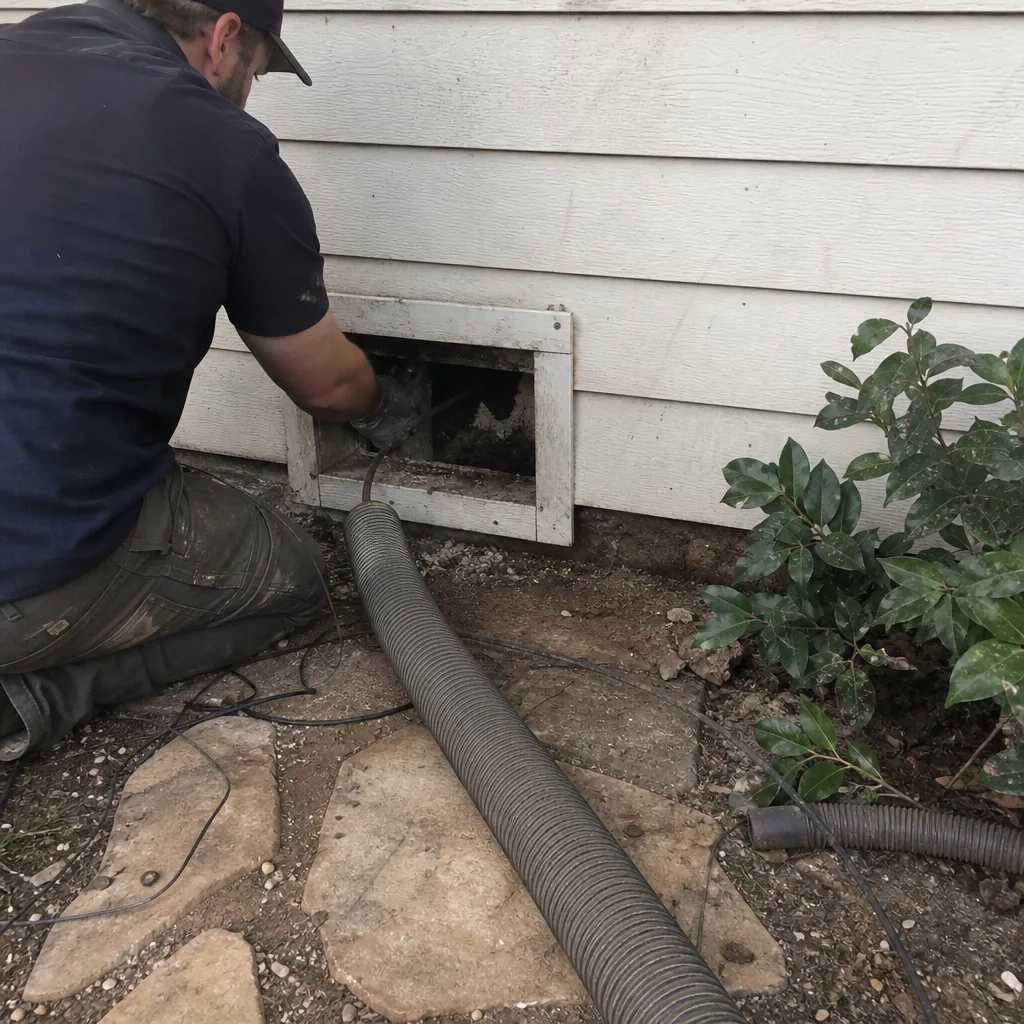 Before
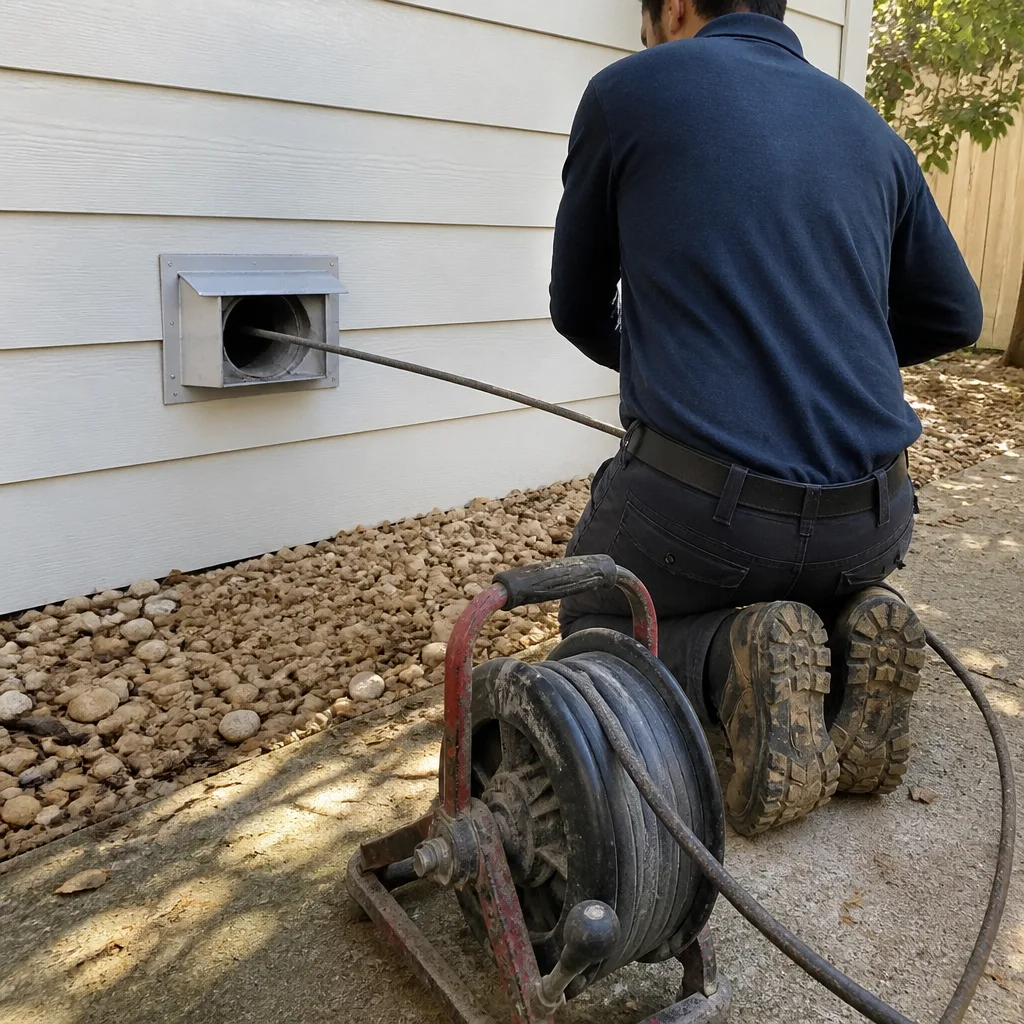 After
After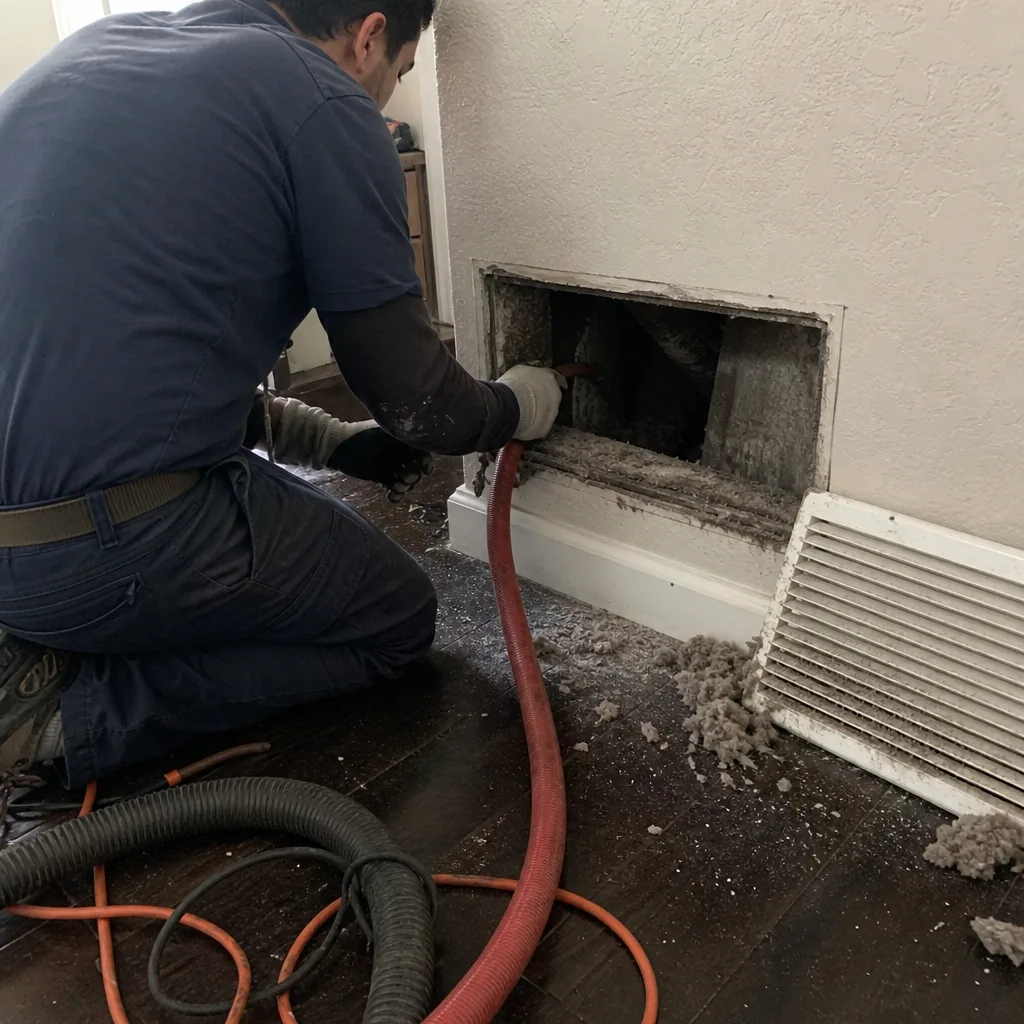 Before
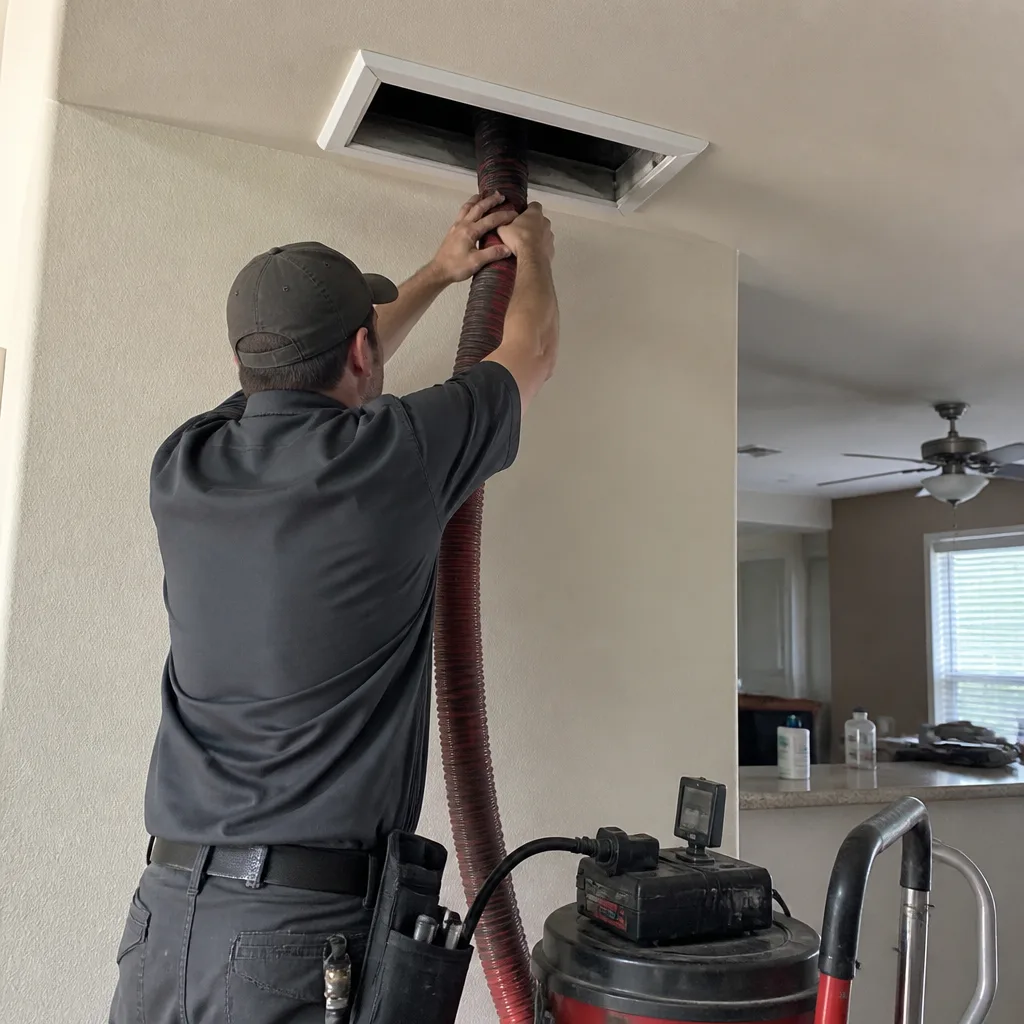 After
After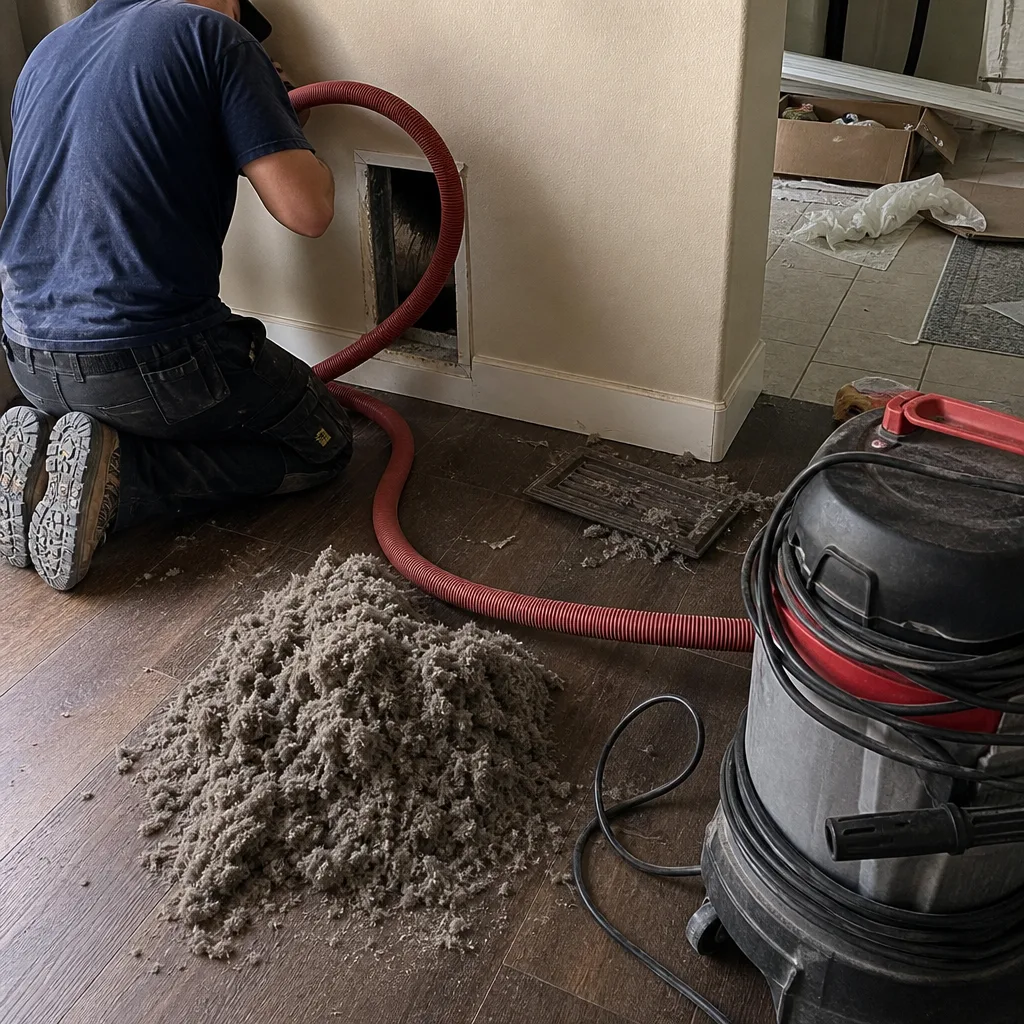 Before
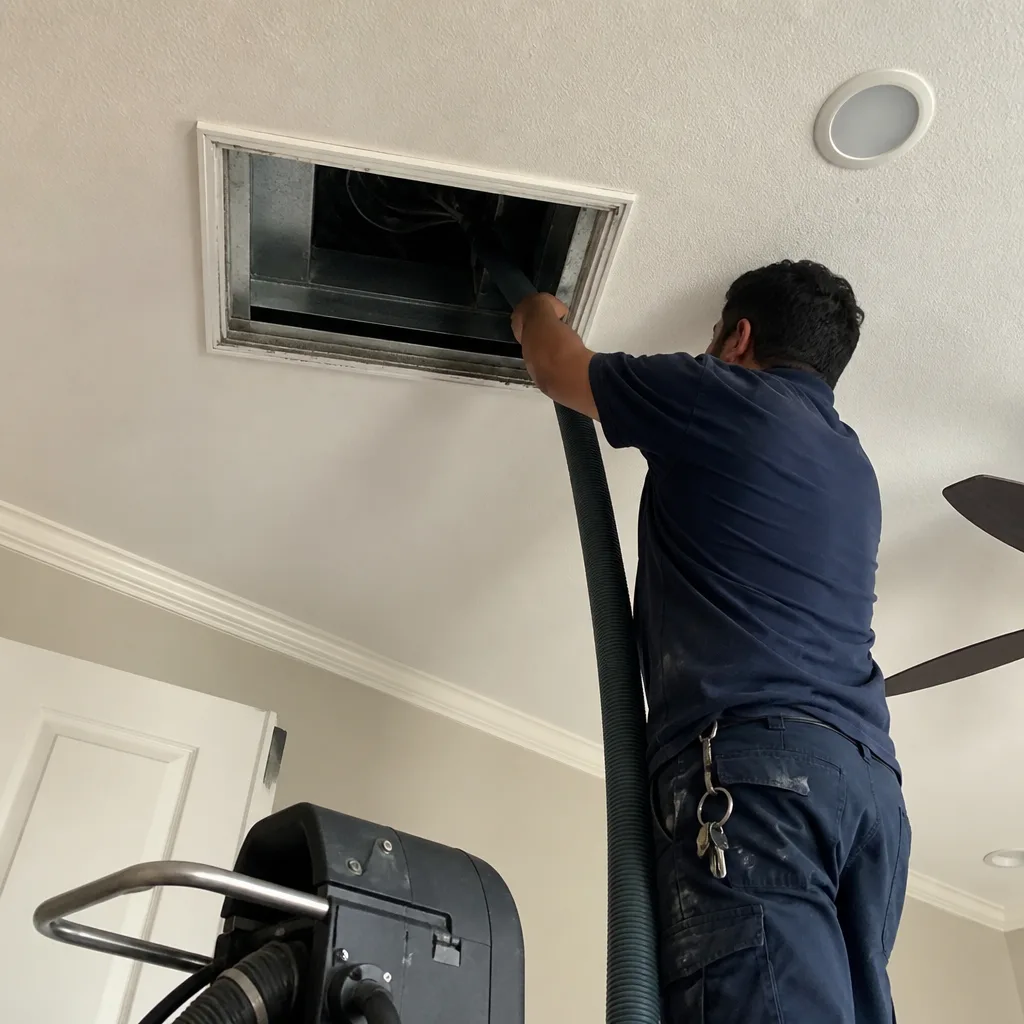 After
AfterAir Duct Cleaning Maintenance Checklist for Austin Homeowners
Most duct maintenance checklists are written for HVAC technicians, not homeowners. They tell you to “inspect the evaporator coil” or “check static pressure” - tasks that require gauges and training most Austin homeowners don’t have. But a homeowner who checks and photographs their return air grille every 90 days will catch a collapsing flex duct section months before it shows up on their electric bill. No tools required, just a phone flashlight and a consistent date stamp. This guide translates the eight observable checkpoints any Austin homeowner can document themselves between Air Duct Cleaning services, turning vague “change your filter” advice into a dated inspection log that creates a paper trail.
Quick Answer
Austin homeowners should inspect their air ducts quarterly using eight observable checkpoints: filter condition and fit, return grille debris patterns, supply register dust rings, boot-to-wall gaps, startup odors, airflow consistency across rooms, visible flex duct sagging in attics or crawl spaces, and thermostat-humidity correlation. Document each check with a dated photo. Pair this with seasonal filter swaps timed to Austin’s cedar season (January and March) and pre-summer HVAC strain (April). Professional cleaning with full duct run documentation should follow every 3-5 years for most homes, or sooner if inspection logs show accelerating debris or airflow decline. For guidance on when to act sooner, see our Air Duct Cleaning Warning Signs: A Austin Homeowner’s Reference Guide.
Table of Contents
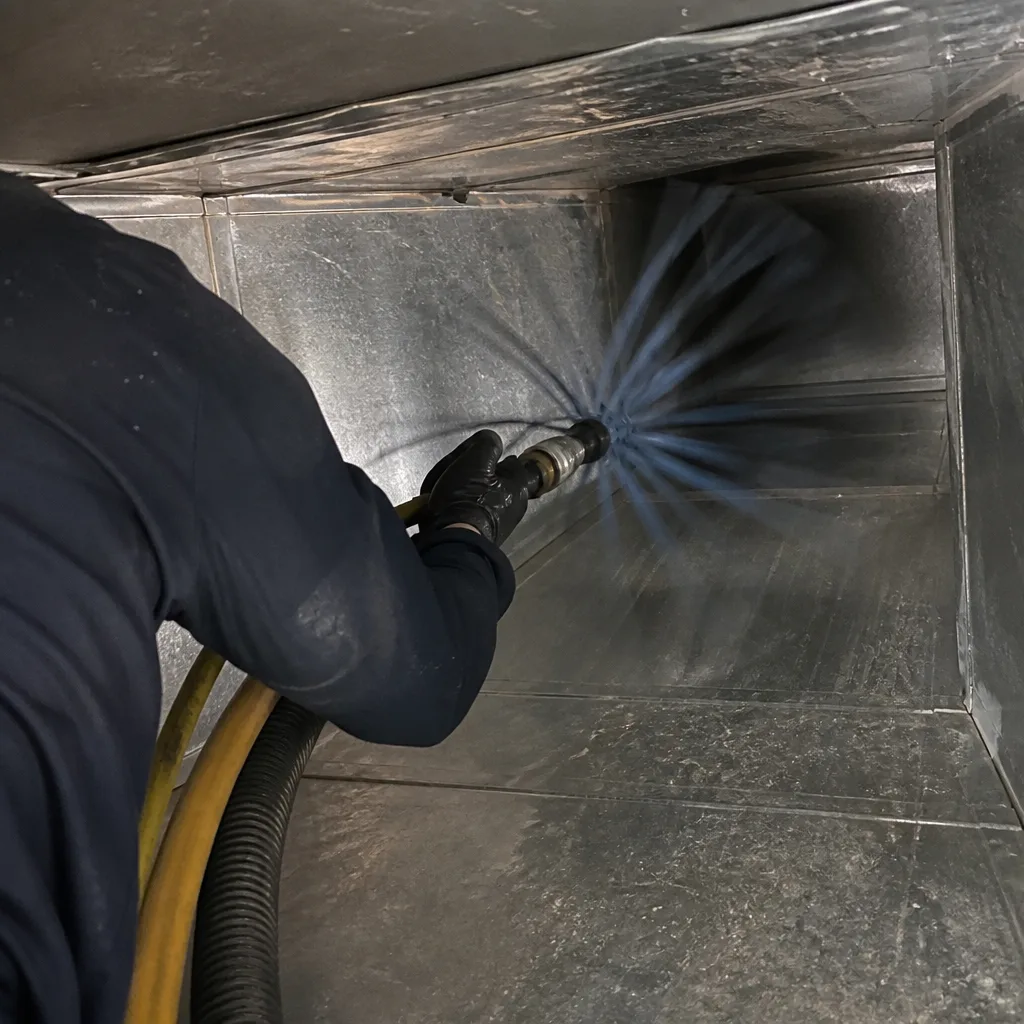
- The Austin Homeowner’s 12-Month Inspection Calendar
- Filter Checks: What MERV Rating Actually Means in Older Austin Homes
- What You Can See at Every Supply and Return Grille
- The One DIY Task That Delays Professional Cleaning
- Attic and Crawl Space Checks Without Entering
- Odor and Airflow: The Warning Signs That Cross the Line
- Building Your Dated Inspection Log
- When to Call a Professional
BeforeAfterThe Austin Homeowner’s 12-Month Inspection Calendar
Austin’s climate doesn’t follow a generic national schedule. Cedar pollen peaks in January and again in late February through March. Summer heat arrives early, often pushing 90 degrees by late April. Humidity spikes in May and September. Your duct maintenance should match these local patterns, not a calendar printed in Ohio.
Here’s the inspection calendar we’ve refined across 52,000+ Austin-area homes since 2013:
| Month | Task | What to Document |
|---|---|---|
| January | Pre-cedar season filter inspection | Filter color, fit tightness, date stamp on frame |
| March | Post-cedar filter swap + grille check | Return grille debris load, supply register dust rings |
| April | Pre-summer duct boot and airflow check | Boot gaps, room-to-room temperature variance |
| June | Mid-summer filter condition | Filter loading, any bypass around edges |
| September | Post-summer humidity assessment | Thermostat humidity reading vs. actual feel |
| November | Pre-winter full inspection | Complete 8-point checklist, photo log review |
In Tarrytown and Clarksville, where many homes date to the 1940s-1970s, we see duct systems that were retrofitted multiple times. The January filter check often reveals a 1-inch filter crammed into a slot designed for a 2-inch - a fit problem that accelerates bypass and grille soiling. In newer builds like East Austin or Mueller, the issue is often the opposite: builders spec’d MERV 13 filters in systems with undersized returns, creating airflow restriction that shows up first as temperature stratification between rooms.
The calendar above isn’t arbitrary. January’s pre-cedar check gives you a baseline before the green cloud descends. March’s post-cedar swap captures the filter at peak load, when you can compare color and debris pattern year over year. April’s pre-summer check matters because Austin’s first sustained heat wave forces systems to run continuously, exposing any duct leakage that was tolerable in mild weather. By June, you’re monitoring whether that April check caught everything. September’s humidity check targets the mold risk window that follows summer’s moisture load. November’s full review builds your annual comparison set.
Document each check with a photo showing the date, either through your phone’s timestamp or by writing the date on a slip of paper in frame. Store these in a dedicated album or folder. After three years, you’ll have a trend line that no single inspection can provide.
Filter Checks: What MERV Rating Actually Means in Older Austin Homes
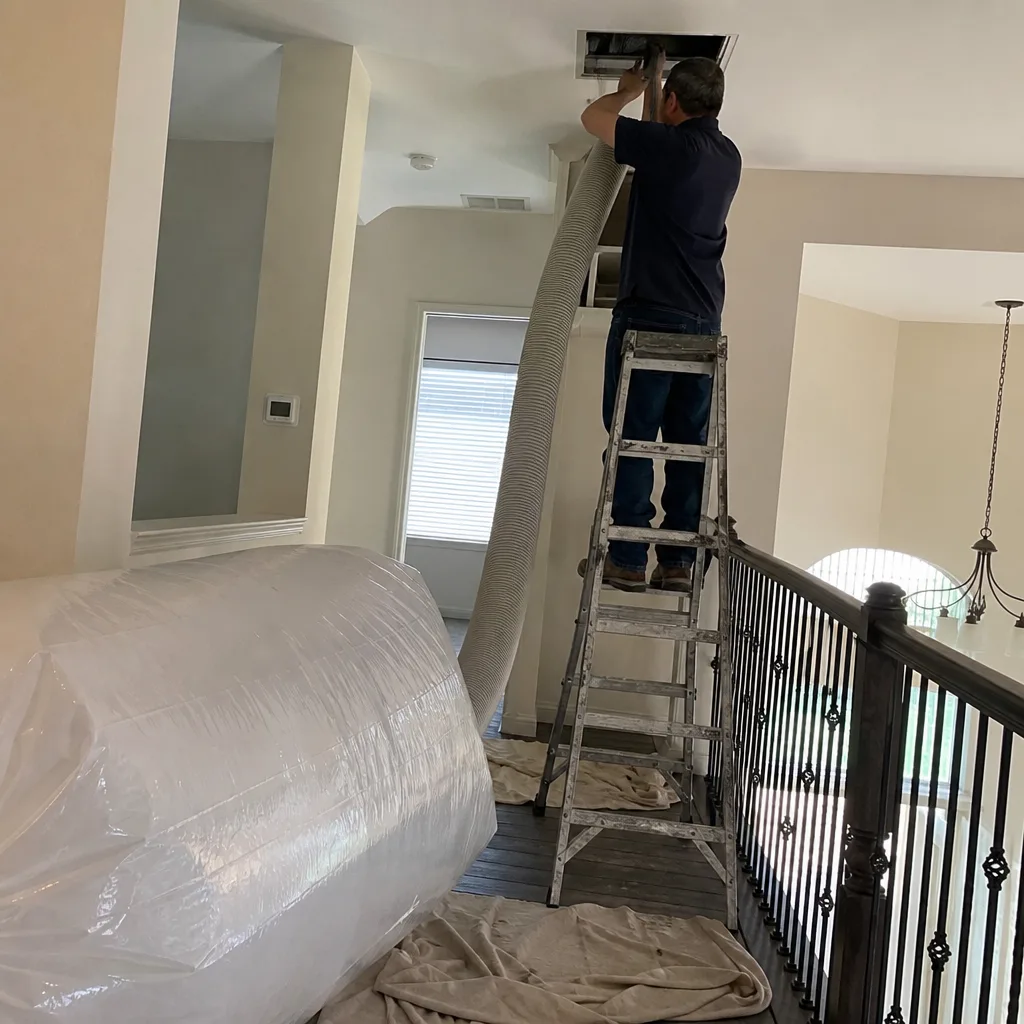
MERV - Minimum Efficiency Reporting Value - measures what percentage of particles a filter traps. The scale runs 1 to 20. For residential use, the common options are MERV 8, MERV 11, and MERV 13. Here’s what each actually does, in terms you can observe:
- MERV 8: Traps pollen, dust mites, and carpet fibers. Lets through most fine particulate. In Austin’s older homes with original ductwork, this is often the safe choice for airflow preservation.
- MERV 11: Adds capture of pet dander, auto emissions, and larger bacteria. A middle ground that works in most systems built after 1990 with properly sized returns.
- MERV 13: Traps smoke, sneeze droplets, and some virus carriers. The highest rating commonly sold in retail. Also the most likely to restrict airflow in systems not engineered for it.
The mistake we see in Austin’s established neighborhoods - Hyde Park, Rosedale, Brentwood - is homeowners buying MERV 13 because it’s the highest number on the shelf, then noticing rooms that won’t cool evenly or a system that runs longer cycles. The filter isn’t “better” if it chokes your airflow.
Here’s how to check: with the system running, hold a tissue near a supply register six feet from the grille. It should lift and hold horizontal. If it droops or barely moves, your filter may be too restrictive for your system’s fan capacity. This isn’t precise engineering, but it’s an observable test any homeowner can perform and photograph.
Another Austin-specific factor: limestone dust. The Edwards Plateau’s caliche soils generate fine particulate that MERV 8 handles adequately in most homes. If you’re in a new construction zone with active grading nearby - common in southwest Austin and the corridor toward Dripping Springs - MERV 11 may be justified for the heavier dust load. But step up only if your system’s documentation or a technician’s measurement confirms the blower can handle it.
At CleanRun Air Duct Cleaning Austin home, we document filter fit and restriction during every service. The photo record shows whether your filter frame has gaps (bypass) or is bowed inward (excessive restriction). Both conditions are correctable, but they’re different problems requiring different fixes.
What You Can See at Every Supply and Return Grille
You don’t need to remove anything to gather useful information. Here’s what to look for, what it means, and what to photograph.
The Return Air Grille
This is the large grille, usually on a wall or ceiling, where air is pulled back to the system. Remove the filter and look at the grille surface behind it with a flashlight held at an angle, not straight on. Angled light reveals texture and buildup that direct light flattens out.
Grey dust ring around the grille edges: Normal accumulation. Document the width of the ring with a ruler in frame. If it grows from 1/4 inch to 3/4 inch between quarterly checks, your filter fit is deteriorating or your home’s particulate load has increased.
Dark, oily film: Indicates cooking grease or candle soot being drawn through the system. Common in homes with gas cooktops and no range hood, or heavy candle use. This residue coats the downstream side of your filter and accelerates loading. It also indicates your return is pulling from the kitchen zone, which may be a design issue or a grille location problem.
Debris falling when you remove the filter: More than a few flakes suggests the duct behind the grille has significant buildup. The return duct is under negative pressure - it pulls air in - so loose debris shouldn’t normally migrate toward the grille. If it’s there, it’s either very loose or the duct has a positive pressure zone from a disconnected section.
Collapsed or pinched flex duct visible through the grille opening: This is the finding that saves you hundreds in energy costs if caught early. Flex duct - the insulated flexible tubing common in Austin attic retrofits - can sag and crush under its own weight over time. A flashlight aimed into the return opening may reveal a duct that’s narrowed to half its diameter. The system works harder, rooms starve for air, and your electric bill climbs before you notice comfort problems. Photograph this. It’s a call-a-technician finding.
The Supply Registers
These are the smaller grilles in each room where conditioned air exits. Check them with the system off, so you’re not fighting airflow.
Dust ring on the ceiling or wall around the register: Called “ghosting” or “sooting,” this indicates particulate is escaping the duct at the boot-to-wall joint and being deposited by the air stream. It means your duct boot isn’t sealed to the drywall or plaster. The fix is accessible - see the section on duct boot sealing below.
Black streaks on the register fins: Often mistaken for mold. In most Austin homes, this is actually dust that has electrostatically adhered to the metal, then darkened from heat cycling. Wipe it with a damp cloth. If it smears and smells musty, consider it a flag for moisture in the duct. If it wipes clean with no odor, it’s cosmetic.
Condensation on the register face during cooling season: In Austin’s humid months, this indicates supply air temperature that’s too cold for the room’s dew point, or insufficient airflow across the coil. Persistent condensation can damage ceiling drywall and promote microbial growth. Document when it occurs - time of day, outdoor temperature, thermostat setting - and share this log with your HVAC technician.
The One DIY Task That Delays Professional Cleaning
Most duct maintenance advice is either “change your filter” (too vague) or “have your ducts cleaned” (too expensive to do frequently). There’s one task in between that genuinely reduces debris accumulation and extends cleaning intervals: sealing visible duct boot gaps with foil tape.
The duct boot is the metal fitting that transitions from your duct to the wall or ceiling surface where the register sits. In Austin homes, especially those built between 1980 and 2010, the boot is often cut into drywall with a gap of 1/8 to 1/2 inch around the perimeter. Conditioned air escapes this gap into the wall cavity. Unconditioned attic or crawl space air gets drawn in on the return side. Both paths bypass your filter and deposit debris at the register edges - the ghosting described above.
What the gap looks like: Remove the register grille (usually two screws or spring clips). Look at the joint between the metal boot and the surrounding drywall or plaster. A proper seal is continuous caulk or mastic with no visible crack. What you’ll often find is a rough cut with gaps, or old caulk that has shrunk and separated. Photograph this before you touch it.
What to use: HVAC foil tape, not duct tape. Duct tape - the gray cloth-backed kind - degrades in attics and loses adhesion within months. Foil tape with an acrylic adhesive (3M 3311 or similar) maintains seal for years in Austin’s heat. Do not use standard hardware store “duct tape” for this application.
How to apply: Clean the surface with a dry cloth. Apply tape in strips, pressing firmly to conform to irregular edges. Overlap strips by half their width. You’re not aiming for beauty; you’re aiming for an air barrier. The boot may be too hot to touch during heating season, so perform this task during mild weather.
What this accomplishes: Sealed boots reduce the debris load entering your occupied space by eliminating bypass paths. They also improve delivered airflow to rooms, which means your system reaches setpoint faster and runs less. In our documentation across Austin homes, sealed boots correlate with 15-25% longer intervals between professional cleanings for homes otherwise on similar maintenance schedules.
This is the only duct modification we recommend homeowners perform themselves. Everything else - internal cleaning, coil access, plenum inspection - requires equipment and training, and carries safety considerations for electrical and refrigerant components.
Attic and Crawl Space Checks Without Entering
You don’t need to crawl through your attic to gather useful information about your duct system’s condition. Here’s what you can observe from access points.
Attic Inspection from the Hatch
- Open the hatch during daylight, with the attic light off. Look for light leaks around duct joints - they indicate gaps where conditioned air escapes. A properly sealed duct system should show no light at joints or connections.
- Photograph visible flex duct runs. Note any sections that sag below the general run line, touch insulation, or show kinks where they bend around framing. Flex duct should be supported every 4-5 feet in a gentle curve, not draped like a garden hose.
- Check for disconnected sections. A flex duct that terminates in open air rather than connecting to a boot is obvious even from the hatch. The blown insulation below it will show a clean spot where air has been escaping. This is a major efficiency loss and a debris source.
- Note insulation condition on duct exterior. Torn or compressed insulation reduces thermal performance and can create condensation points. The outer vapor barrier should be intact with no gaps.
In Austin’s older homes, particularly in Bouldin Creek and South Congress areas where attics are often converted or partially finished, duct routing can be unconventional. We’ve seen flex duct run through closet soffits, under bathroom floors, and across chimney chases. These installations are more vulnerable to damage from renovation work and pest activity. If your home has had any remodeling since 2015, include a note in your inspection log about which areas were affected - your future technician will need this context.
Crawl Space Observation
If your home has a pier-and-beam foundation with a crawl space, shine a flashlight through any vent opening. Look for:
- Ducts resting on the ground or in standing water after rain
- Insulation that has fallen away from duct runs
- Animal damage to flex duct outer layers
- Mold or mildew on duct surfaces or nearby framing
Austin’s clay soils create drainage challenges in many neighborhoods. Water in a crawl space after heavy rain is common; persistent standing water is not. Ducts in chronically damp crawl spaces require different maintenance timing than those in dry attics. Note conditions in your log, and consider this factor when deciding whether your system needs professional attention.
Odor and Airflow: The Warning Signs That Cross the Line
Some findings mean “monitor and document.” Others mean “call this week.” Here’s how to distinguish them.
Odor Thresholds
| Odor Description | When Detected | Action |
|---|---|---|
| Musty or earthy on startup | First 30 seconds of blower operation, then fades | Monitor. Likely microbial growth in condensate pan or duct near coil. Document frequency. If present more than 50% of startups, schedule inspection. |
| Musty that persists | Continuous during operation | Call within 2 weeks. Indicates active moisture problem with established growth. |
| Sharp, chemical, or solvent-like | Any time | Call within 48 hours. Possible refrigerant leak, electrical overheating, or VOC source in duct. Safety concern. |
| Sewage or rotten egg | Any time | Call immediately. May indicate dry P-trap in nearby drain, or sewer gas entering through return path. Health hazard. |
| Burning or smoky | Any time | Shut system off, call immediately. Electrical or mechanical failure risk. |
The musty-on-startup pattern is particularly common in Austin from May through October, when cooling systems generate condensate continuously. The odor comes from microbial growth in the condensate pan or on the evaporator coil itself, not necessarily in the ductwork. A clean pan and treated coil often resolve it without full duct cleaning. Persistent musty odor, by contrast, suggests the growth has colonized duct surfaces and requires professional remediation.
Airflow Thresholds
These are subjective but documentable:
- One room consistently 3+ degrees different from thermostat reading: Monitor for two weeks, checking at the same time daily. If consistent, likely duct leakage or blockage. Schedule inspection.
- Register airflow that has noticeably weakened compared to other registers: The tissue test described earlier, performed at every register, builds your comparison set. A register that previously held a tissue horizontal now barely disturbs it - that’s a 30%+ flow reduction worth investigating.
- System runs continuously without reaching setpoint on moderate days: When outdoor temperature is within 15 degrees of your setpoint, your system should cycle normally. Continuous operation suggests capacity loss from duct leakage, refrigerant issue, or airflow restriction.
- New whistling or roaring from any register: Indicates duct damage, register restriction, or damper failure. Not an emergency unless accompanied by odor or temperature extreme, but schedule within two weeks.
Your inspection log’s value is in trend detection, not single-point diagnosis. A room that drifts from 1 degree different to 3 degrees different over 18 months tells a story that a single service call cannot.
Building Your Dated Inspection Log
The paper trail is the point. Here’s how to build one that actually gets used.
Format: Simple is sustainable. A note on your phone, a dedicated photo album with consistent naming, or a printed sheet on the refrigerator. The format matters less than the regularity. We recommend phone photos with a consistent naming convention: “ReturnGrille_Jan2025” or “MasterBedSupply_Apr2025.”
Minimum documentation per check:
- Date and outdoor conditions (temperature, any notable weather)
- Filter brand, size, and MERV rating currently installed
- Photo of return grille with angled light
- Photo of worst supply register (usually the one closest to the air handler or the one in the most-used room)
- Notes on any odors during startup
- Tissue test result at weakest register (lift/hold/droop)
- Any changes since last check
Annual review: Each November, scroll through your year’s photos. Look for progression in dust ring width, darkening of register surfaces, or declining tissue test performance. This review takes 10 minutes and provides the trend context that justifies either continued monitoring or professional intervention.
What to do with the log when you call a technician: Share it. A year of dated photos tells us more than a single walkthrough. We can see whether a problem is acute or chronic, whether it correlates with filter changes or weather events, and whether your system’s behavior is typical for its age and Austin’s climate. At Air Duct Cleaning in Austin, we add your log to the job record alongside our own documentation.
The homeowners who get the most value from this process are those who started it after a professional cleaning, when ducts were at a known baseline. Explore our more guides & resources to build on this foundation. If you’re starting fresh with no recent service, your first few months establish that baseline. Don’t expect to interpret everything immediately - the value accumulates.
Common Mistakes to Avoid
- Buying the highest MERV filter available without checking system compatibility. In Austin’s 1960s-1980s housing stock, MERV 13 often restricts airflow enough to cause coil freezing or compressor damage. Match the filter to your system’s capacity, not your aspiration.
- Sealing registers with caulk instead of addressing boot gaps. Caulking the register to the wall traps air leakage inside the wall cavity and makes future service difficult. Seal the boot, not the grille.
- Ignoring cedar season timing. Austin’s mountain cedar pollen (January-February) loads filters faster than any other period. Checking filters “every three months” on a generic schedule means you’re running overloaded through peak season. Check in January, swap in March.
- Photographing with direct flash instead of angled light. Flash photography flattens texture and hides buildup. Angled light from a flashlight or window reveals the actual surface condition. This matters for year-to-year comparison.
- Assuming new construction means clean ducts. Austin’s building boom has produced homes with construction debris - drywall dust, wood chips, insulation fragments - still in ducts at move-in. The “new house” smell is often off-gassing from this debris under heating. Consider an initial inspection even for new builds.
- Waiting for visible dust at registers to act. By the time debris reaches supply registers, the upstream duct is heavily loaded. The inspection log’s purpose is early detection, not confirmation of obvious failure.
- Using “duct cleaning” as the answer to every symptom. Musty odor on startup usually indicates a condensate pan or coil issue, not duct contamination. Continuous musty during operation may indicate duct moisture. The right fix depends on the right diagnosis. HVAC Cleaning in Austin addresses the full system, not just ducts.
When to Call a Professional
Some findings from your inspection log warrant professional attention rather than continued monitoring. Call when:
- Collapsed or disconnected flex duct is visible through any access point
- Persistent musty odor during operation, not just at startup
- Any chemical, burning, or sewage odor at any time
- Room temperature variance exceeds 5 degrees from thermostat reading
- Tissue test shows dramatic airflow reduction at multiple registers
- Annual photo review shows accelerating debris accumulation despite consistent filter changes
- Water or pest damage is visible on duct surfaces in attic or crawl space
When you call, ask what documentation you’ll receive. A verbal report of “your ducts were dirty” is not equivalent to a photo record of each duct run before and after. At CleanRun Air Duct Cleaning Austin, every job includes a Documented Photo Record of every duct run, delivered as part of the standard job record. The written price is delivered before work starts, every time, under Haven Standard Clause 1. We also offer a Free Second Opinion on any written estimate - bring a competitor’s quote and we’ll put our number next to it in writing.
CleanRun Air Duct Cleaning Austin offers free estimates in Austin - call (737) 243-9544.
Frequently Asked Questions
Whole-system air duct cleaning in Austin typically ranges from $400 to $900 for a standard single-system home, depending on duct configuration, accessibility, and whether sanitizing treatment is included. Two-story homes with multiple zones or extensive flex duct in attics run higher. CleanRun delivers a written price before any work starts - no per-vent pricing, no add-ons after arrival. Call (737) 243-9544 for an exact quote; estimates are free.
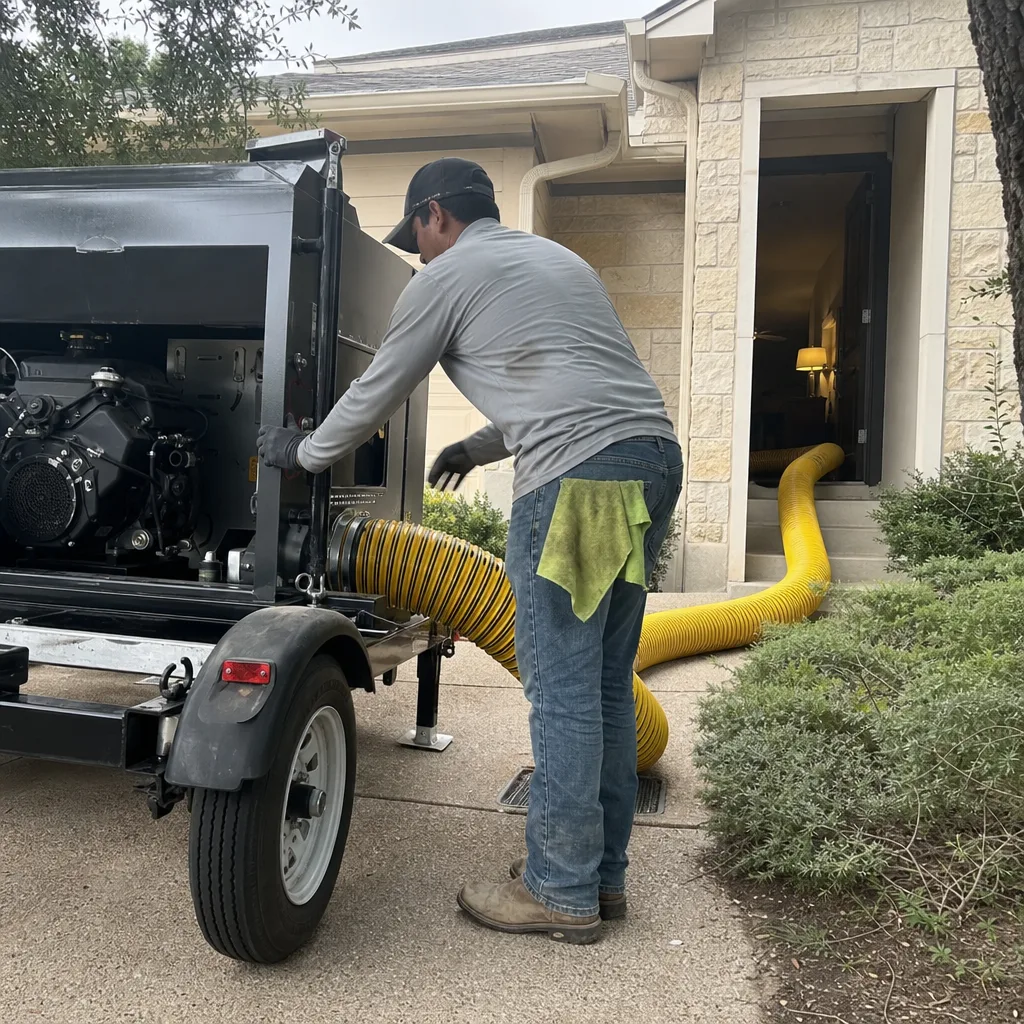
The $79-$149 coupon offers typically cover a brief vacuuming of accessible registers, not full duct run cleaning. The industry bait-and-switch works by quoting a low arrival price, then identifying “additional services” once the van is on your driveway. A legitimate whole-system cleaning requires negative-pressure extraction equipment, access to the plenum (the central distribution box), and time to clean each branch line. Ask any provider to specify in writing: how many duct runs will be cleaned, what equipment will be used, and whether before/after documentation is included.
Require documentation. A verbal assurance or a receipt line item is not verification. At CleanRun, every job concludes with a Documented Photo Record showing the inside of every duct run before and after - part of our standard deliverable since 2013. You should be able to see the difference between a surface vacuum and full extraction. If a provider cannot or will not show you this, the work may not have occurred as described.
Most Austin homes benefit from professional cleaning every 3 to 5 years, with the inspection log described in this guide extending or shortening that interval based on actual conditions. Homes with indoor pets, recent renovation, or located near active construction may need more frequent service. Cedar season intensity, limestone dust exposure, and duct system age are Austin-specific factors that accelerate accumulation. Your annual log review provides the data to make this decision objectively rather than by calendar.
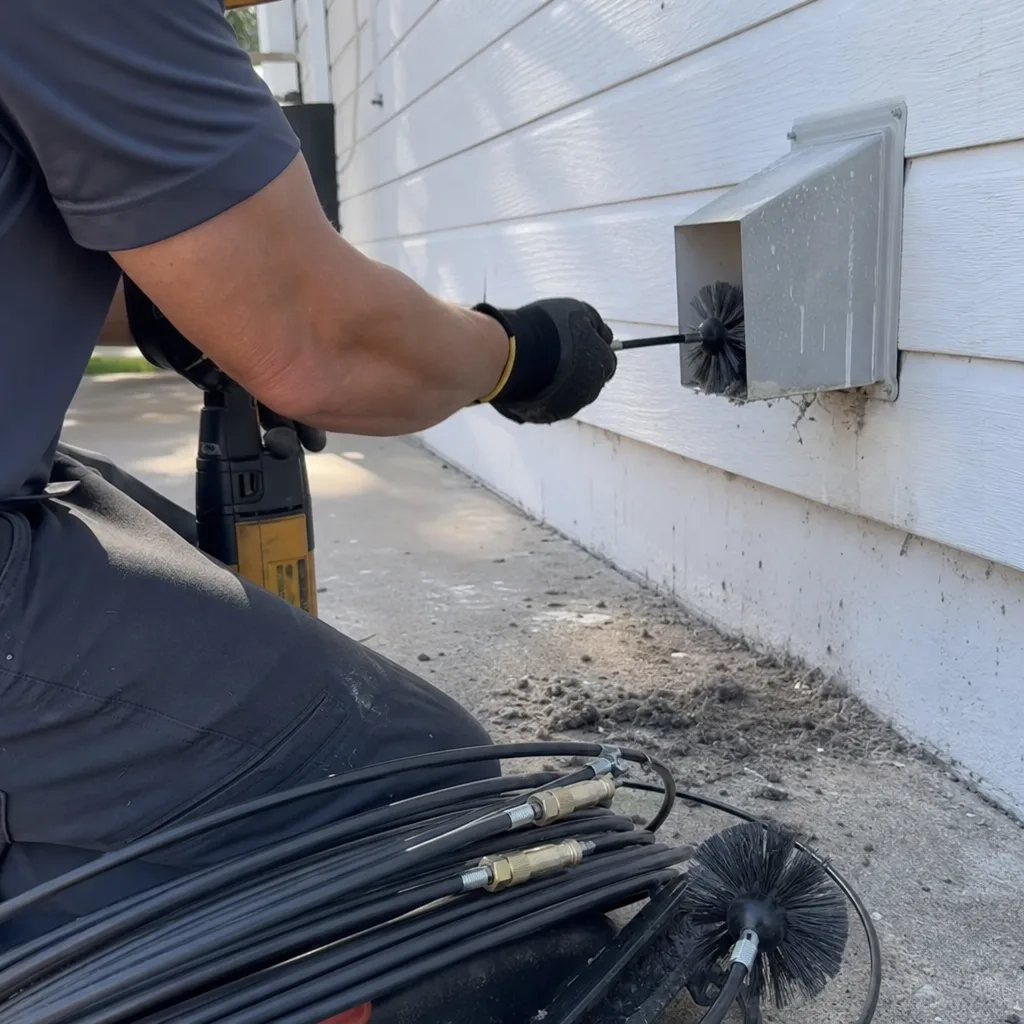
Homeowners can and should perform the inspection and minor sealing tasks described in this guide. Internal duct cleaning requires professional-grade negative-pressure extraction equipment - brands like Nikro and Abatement Technologies - to prevent debris redistribution and protect HVAC components. The rotating brushes and high-velocity vacuums used in proper cleaning also pose injury risk around duct edges and fasteners. Document what you can observe; leave internal cleaning to equipped professionals.
Yes. Austin’s combination of heavy pollen seasons, caliche dust, high summer humidity, and temperature swings that force near-continuous system operation from April through October creates conditions that accelerate duct contamination compared to milder or drier climates. The limestone-derived particulate in central Texas is particularly fine and penetrates filters more readily than coarser dusts. Humidity spikes in May and September create brief windows where duct condensation can support microbial growth. These factors don’t necessarily mean more frequent cleaning for every home, but they mean Austin-specific inspection timing and attention to humidity indicators.
The Bottom Line
Effective duct maintenance for Austin homeowners is not a checklist to complete and forget. It’s a practice of regular observation, dated documentation, and trend-based decision making. The eight checkpoints in this guide - filter condition and fit, return grille debris, supply register dust rings, boot-to-wall gaps, startup odors, airflow consistency, visible flex duct condition, and thermostat-humidity correlation - require no special tools and create a paper trail that protects your investment and informs your service decisions. Pair quarterly inspections with Austin’s actual seasonal patterns: cedar season filter management, pre-summer system readiness, and post-summer humidity assessment. When your log shows a threshold crossed, call a provider who documents their work in writing and in photographs, with pricing delivered before the first panel comes off.
Written by Tomas Reyes, Owner at CleanRun Air Duct Cleaning Austin, serving Austin since 2013.